Did you know that online ads can reach over 90% of folks using the internet? That’s huge! Dynamic remarketing takes advantage of this by showing tailored ads to people who’ve already checked out your online store. It’s like a friendly reminder about those neat products they looked at. This approach is a great way to turn casual browsers into satisfied customers!
Related Article: Avoid these 7 Remarketing Mistakes for Maximum Impact
Here’s the exciting part: setting up retargeting campaigns can revolutionize your retail business. Dynamic remarketing, a powerful technique within retargeting, specifically targets potential customers.
Jump to:
Personalized Ads for Your Retail Business
Why Dynamic Remarketing is a Win for Your Retail Business (and Your Budget)
Setting Up Dynamic Remarketing For Your Retail Business in Google Ads
Step 1: Sign Up for Google Ads (if you haven’t already)
Step 2: Adding Products to the Google Merchant Center
Step 3: Incorporating the Data Layer for Dynamic Remarketing
Step 4: Setting Up a Google Ads Remarketing Tag within GTM
Step 5: Customize Your Remarketing Tag Dynamically
Step 6: Set Up Trigger Events for Dynamic Remarketing
This guide digs into the best ways to implement dynamic remarketing in retail businesses. If you follow these tips, you’ll build a solid base for creating a dynamic remarketing campaign using Google Ads. This helps you connect with your audience through personalized ads, improving your brand’s visibility & driving sales!
Personalized Ads for Your Retail Business
Imagine a customer checks out some awesome products on your site but gets distracted before buying. They might totally forget their favorite items!
That’s where dynamic remarketing steps in. It’s a clever way to reengage potential buyers by showing them ads with the specific products they looked at or even added to their cart.
Here’s how it works:
- Tracking website behavior
When someone visits your online shop, we keep track of what they’re doing—anonymously, of course! This means we catch what products they viewed, what went into their cart, & how long they lingered on each page.
- Creating personalized ads
With this browsing info, Google Ads cooks up custom ads just for each shopper. These ads show the stuff they liked, making them super relevant and catching their eye again.
- Reaching a massive audience
TDynamic remarketing’s magic is its reach. These personalized ads can pop up all across tons of websites & apps partnered with Google, even popular spots like YouTube & Gmail. You can reconnect with potential customers wherever they wander online, reminding them of the cool finds in your store!
Picked For You: The Ultimate Guide to Conducting a Google Ads Audit for your business
Now that you’re familiar with dynamic remarketing, let’s see how it benefits your retail business – and hey, your budget too!
Why Dynamic Remarketing is a Win for Your Retail Business (and Your Budget)
Dynamic remarketing isn’t just another buzzword – it’s a powerful tool for your retail biz.
- Recapturing lost interest
Let’s be honest: shopping online can have a lot of distractions. Someone might fill their cart with awesome finds and then get pulled away before buying. Dynamic remarketing jumps in to remind them about those cool items!
- Personalization
The days of boring generic ads are over! Dynamic remarketing uses website actions to whip up custom ads for each user. This way, they see precisely what they were interested in—so they’re more likely to take action again!
- Boosting brand awareness
Even if someone doesn’t click your ad immediately, spotting your brand repeatedly on different sites keeps you fresh in their minds. This kinda exposure boosts brand recognition and may lead them back later!
- Cost-effective advertising
Dynamic remarketing is easy on the pocket! The average cost per click (CPC) ranges from $0.66 to $1.23—much less than regular display and search ads costing around $1 to $2 CPC. So you can connect with more people without breaking the bank!
Read also: 9 Tips to Run Google’s Local Service Ads Like An Expert
You can now re-engage would-be buyers, personalize shopping experiences & boost sales without overspending – totally win-win for you & your potential customers!
Setting Up Dynamic Remarketing For Your Retail Business in Google Ads
Ready to tap into dynamic remarketing for your store? Here’s a simple guide to get going:
Step 1: Sign Up for Google Ads (if you haven’t already)
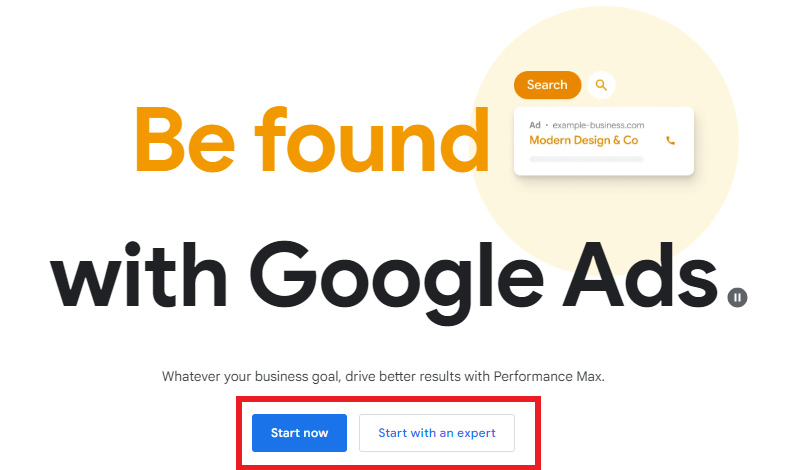
To begin setting up dynamic remarketing through Google Tag Manager (GTM), First things first! You gotta sign up for Google Ads if you haven’t done so already. Just visit the Google Ads homepage & follow the steps to create an account by entering details about your business, like website URL & location.

Setting up an account is pretty straightforward—just basic info about your biz will do! Once you’re done, you can start implementing a remarketing campaign using data from your site to target potential customers.
Step 2: Adding Products to the Google Merchant Center
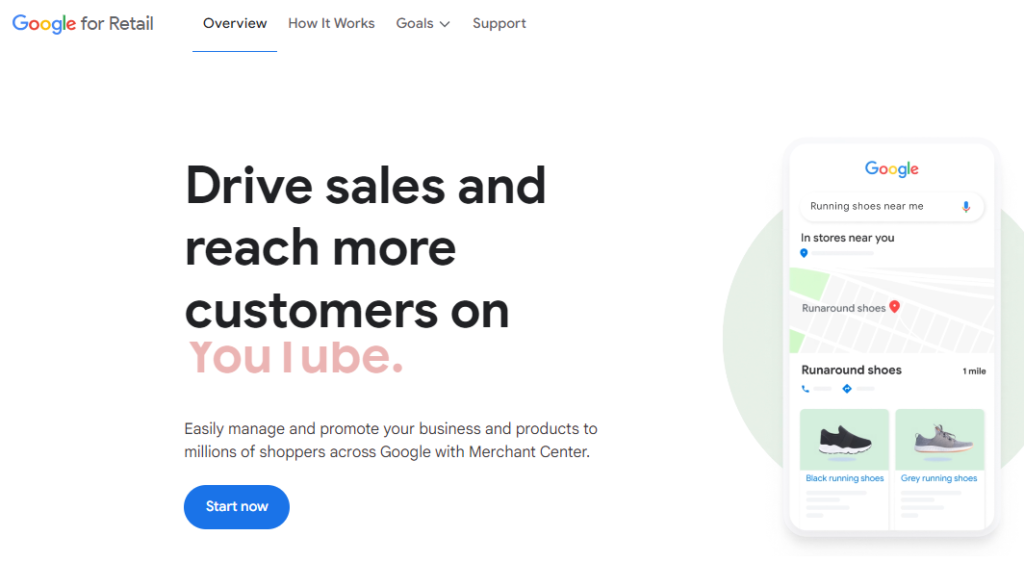
Next up is getting dynamic remarketing set up. One of the first steps is creating something called a product feed. This product feed shows important details about what you sell—like prices, images, and descriptions—to help Google Ads know which products are popular with customers.

Read this article to create a product feed for your store: 2024 Latest Guide For Google Shopping Ads
Making this product feed isn’t too hard! Use a typical spreadsheet or CSV file & organize everything before uploading it to the Google Merchant Center so that Google Ads gets all the product data it needs.

Creating this feed might seem tough if you’ve got loads of items, but there are easier ways too! Platforms like Shopify & WordPress (with WooCommerce) have features that streamline adding products to the Merchant Center.
For example, Shopify has an API method allowing easy integration between stores & Merchant Center—it even updates product info automatically!
You Might Enjoy: Exploring the Role of A/B Testing in Paid Advertising
With WooCommerce, leveraging Schema.org structured data lets Merchant Center grab product data straight from your site without needing a regular feed—which makes setup much easier for e-commerce stores wanting dynamic remarketing with Google Ads!
It’s super important to link your Merchant Center account with Google Ads so that Google knows howto use this info effectively in dynamic marketing efforts.
Step 3: Incorporating the Data Layer for Dynamic Remarketing
Next step? Add the Data Layer on your website! This layer holds specific details about what products users checked out—like IDs that fit with those in your Merchant Center feed—and other important info.

To share this information with Google Ads, an event is triggered every time someone interacts with your site. While complete event snippet codes don’t appear automatically in tools, installing Data Layer pushes relevant product info from your site into tracking mode.
Say if users check out several products—all their IDs and values will be captured by event snippet codes sent over by the Data Layer! This lets you create dynamic marketing campaigns aimed at users who’ve shown interest in particular products!
Event names in your Data Layer matter too—they show what kind of events are being tracked; like “add_to_cart” when someone adds an item! Picking good event names helps Google categorize users into lists automatically generated later on.
Assuming Google’s Tag Manager is set up already—the next big thing is putting customized Data Layer code on to your website.
Step 4: Setting Up a Google Ads Remarketing Tag within GTM
- Log in to Google Tag Manager
Access GTM account.
- Navigate to the Tags Section
Click “Tags” on left menu.
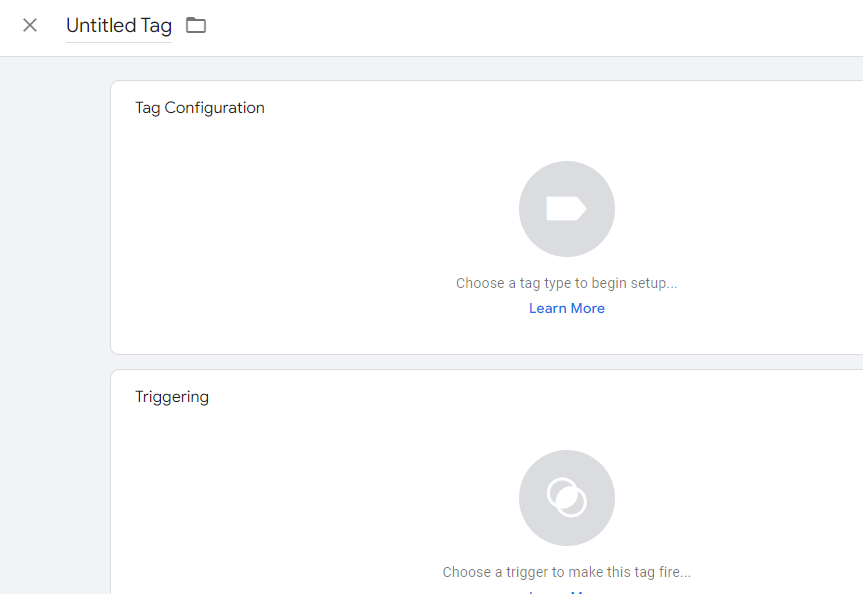
- Create a New Tag
Hit red “New” button.

- Name Your Tag
Give yours an easy-to-remember name.
- Choose Tag Configuration
Click section then pick “Google Ads Remarketing.”
- Enter Google Ads Conversion ID
Grab conversion ID from Ad account; go “Tools & Settings” > “Audience Manager” > “Your Data Sources” > “Google Ads Tag.” Follow prompts if tag’s not set yet—scroll down then hit “Tag setup,” select “Use GTM.” Copy ID then paste into GTM section there!
- Enable Dynamic Remarketing
Don’t forget to tick “Send dynamic remarketing event data.”
- Save and Publish
Save settings then publish changes within GTM so it can start working its magic!
After all this—it means you’ve successfully created a Remarketing Tag ready for leveraging dynamic marketing strategies!
Step 5: Customize Your Remarketing Tag Dynamically
- Select the Event Variable
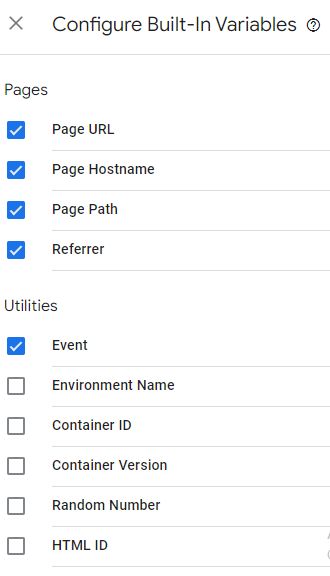
In GTM account choose defined variable labeled “Event” (it looks like gear icon).
- Add Event Value
Hit “+” next by event value text box!
Locate item array inside Data Layer!
- Pull using Data Layer Variable same as got event value above!
- Open dropdown menu under “Event Products.”
- Choose option titled “New Variable” & give it name!
- Select “Data Layer Variable,” naming similar like started before with coding…
After doing these steps—you now turned Remarekting Tags dynamic so it’ll give personalized parameters paving way ahead marketing goals better than ever before!!
Step 6: Set Up Trigger Events for Dynamic Remarketing
- Define Trigger Events
Make sure those tags activate when events happen such as product views or adding things into carts etc… Start enable ‘Use regex matching’ option allowing scalability hence ease later tagging setups through predefined choices written down neatly separated using pipe symbols shown often from documentation provided regularly by Google itself beforehand…

- Create Custom Event Trigger
First up, you gotta make a custom event trigger. This thing should only go off when specific events happen. Give it a name that makes sense & save it away.
- Ensure Comprehensive Retargeting
Think about setting up a standard remarketing tag alongside your dynamic remarketing tag. This way, you get the best coverage for retargeting & can create audiences more flexibly.
Make a new Remarketing Tag in GTM using the same conversion ID as your dynamic Remarketing Tag, but skip any custom Data Layer events.
Set that trigger to fire on all pages, except where your dynamic Remarketing Tag goes off.
Add “custom – remarketing events” as an exception for the trigger to keep things neat.
By following these steps, you’re all set to create a trigger in Google Tag Manager for your shiny new dynamic Remarketing Tag. It’ll work perfectly when those special events happen, boosting retargeting coverage for your campaigns.
Wrap Up!
So, congratulations! You’ve tapped into the magic of dynamic remarketing for your retail business. By now, you’ve set the stage to reach out to curious customers again, show them personalized product picks, and boost those sales!
Remember, dynamic remarketing isn’t just a one-time thing. It’s an ongoing journey. As you learn more, fine-tuning your campaigns will help them pack more punch. Need some help diving into Google Ads & PPC advertising? Reach out to Ad Labz — your go-to agency for Google Ads & PPC. We’re here to help you harness the power of dynamic remarketing & take your retail business to new heights!


